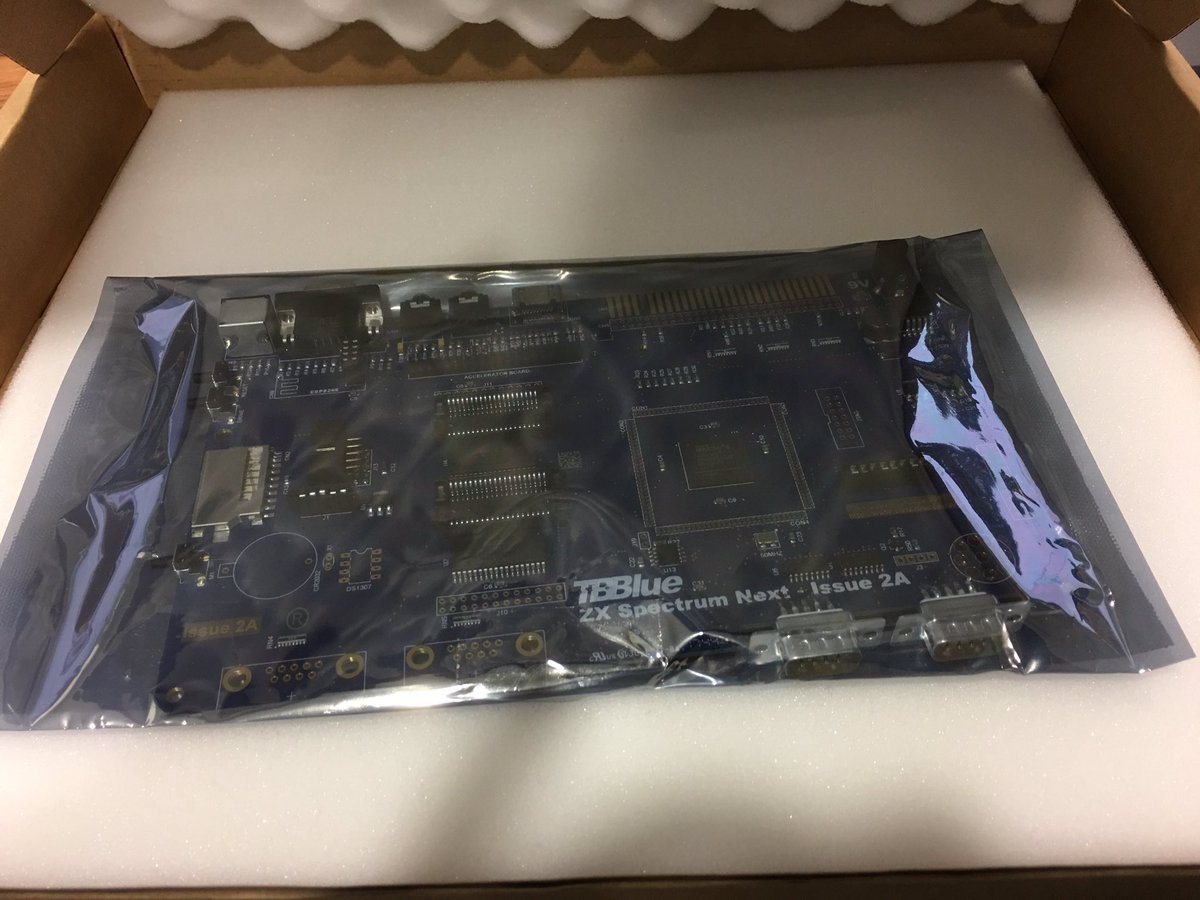
So between families holidays and work, it was a couple months before I got time to get back to doing anything on Next related, but it was for a good reason – the Next motherboard had finally arrived!

I was hyped, really…REALLY hyped!! I had the extra RAM for it already, and after doing an initial power on I installed it and booted it up.

I spent the evening playing around, trying demos and the like, and much fun was had by all – well, me.
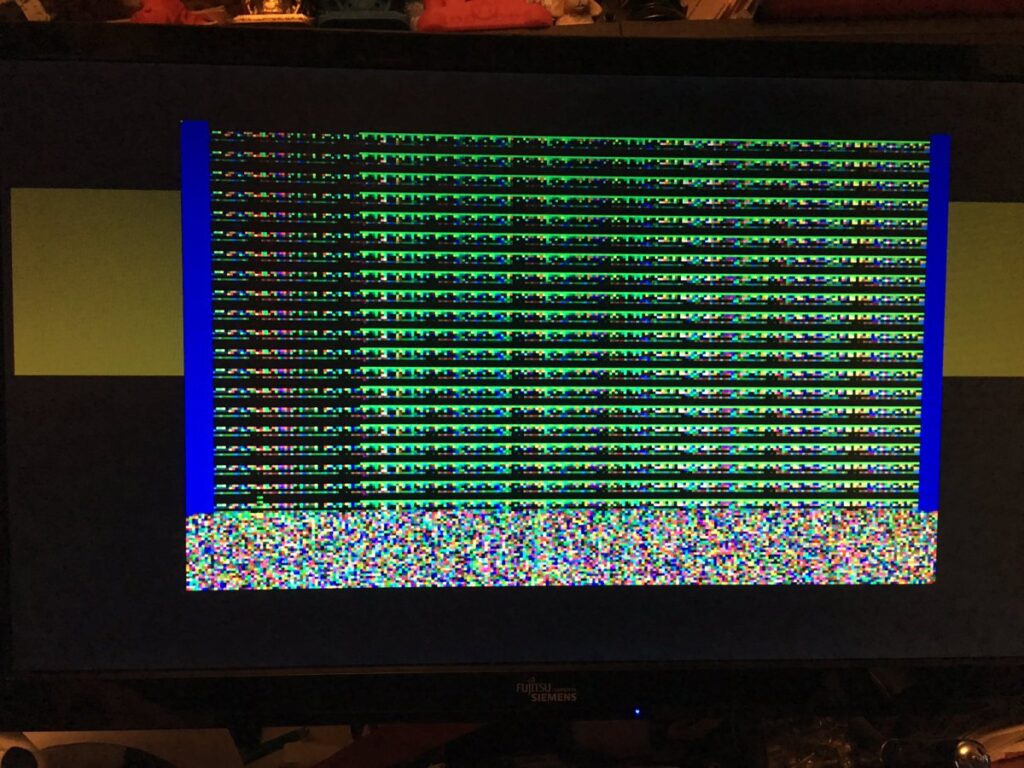
A couple of weeks later, I figured it was time to try and get Lemmings running on it. Needless to say, it didn’t just “run”. I poked around for a bit, but in the end I had to cut out everything and get some very basic code to run. I then slowly started adding code back in.
If you don’t know, this is by far the best debugging method on a system where you’ve no debugger. Comment stuff out, and if you can, draw to the visible screen or change the border/screen colour as you go, so that when it crashes, you can see how far it got and that’ll give you a clue as to where it crashed. Then repeat, moving the colour changes into the new area where it crashed. This is obviously a painful process, but it’s utterly reliable, and you will make (very slow) progress.
This image above is actually major progress. I had managed to go from a black screen, to the game loop actually running. I’d skipped all loading/processing code, and all I was doing was copying the level bitmap to the screen, and copying and panel – or rather where the panel lives in memory.
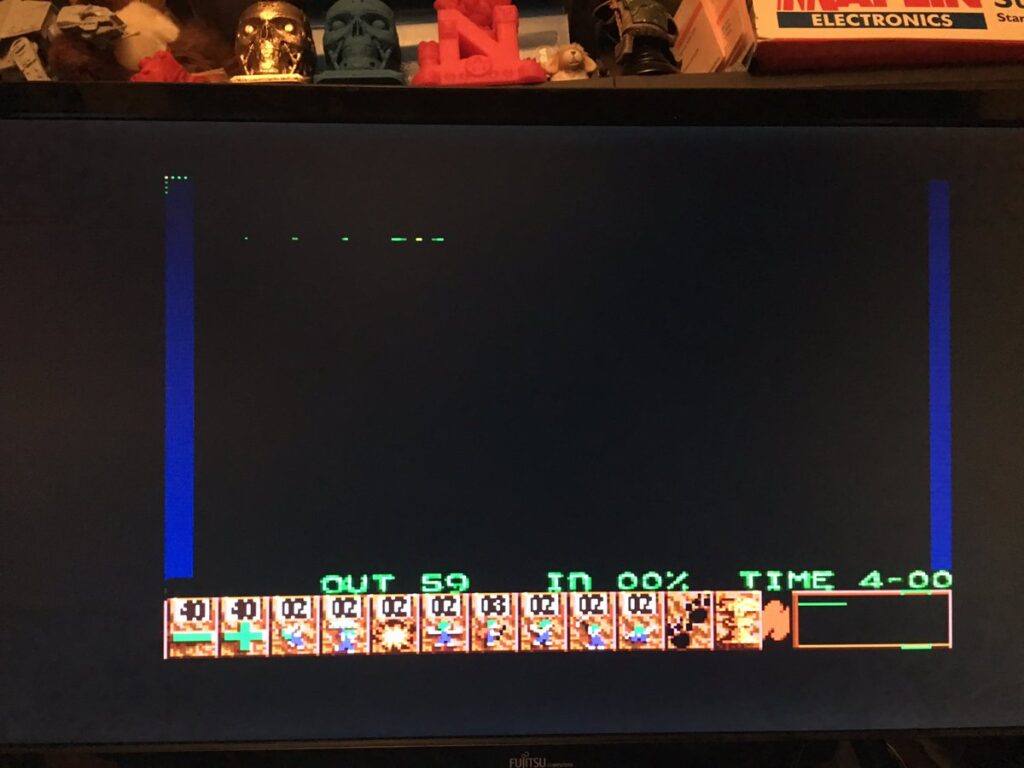
Next was to get something loading. The panel was the simplest thing as it was just pure data/graphics content, so once that was loading I knew the loading code was good, and could start looking at other things. Next thing I wanted to do, was get interrupts working again, and this is where I hit the issue. Just enabling it didn’t work, so I started by creating a very simple handler that just changed the colour, which worked fine. This was odd, as it meant setting up and running the IRQ was totally fine. So I spent a while trying to figure this out then I twigged…. The new NEXTREG instruction wasn’t working. So the replacement for this took several instructions to set a value, and the IRQ could happening in the middle of it, and then my IRQ code was then changing it.
So…I had to now remember the current Next Register, and restore it later. Once I’d added this, my IRQs worked fine, and the main code carried on properly, and then I was able to slowly re-enable the rest of the code.
https://www.youtube.com/embed/-78ZxgBOyOI?feature=player_embedded
All this took 2 or 3 days to get working, but now it was going, I starting to think that now’s the time to start actually doing proper Lemming processing.
I’d been putting this off for a bit because it’s….well, boring to code. But a lot of game code is boring, especially when you’ve done it several times before. Still it had to be done, so I started building a simple state machine for the Lemmings, where it would start out as a Floater, then when it hits the ground either splats, or turns into a walker.
;
; lemmings structure
;
                    rsreset
LemType             rb 1
LemX                rw 1
LemY                rb 1
LemDir              rb 1  ; left or right facing
LemFrameBase        rw 1  ; keep base,count and offset together
LemFrameCount       rb 1  ; so "SetAnim" function is quicker
LemFrameOffX        rb 1
LemFrameOffY        rb 1
LemFrame            rb 1
LemSkillMask        rb 1  ; skill mask
LemBombCounter      rb 1
LemBombCounter_Frac rb 1
LemSkillTemp        rb 9
LemStructSize       rb 0
LemDataSize         equ LemStructSize*MAX_LEM
Structure definition like this is a feature of my assembler SNasm, and means I can load the base of the lemming into IX, then offset using the value above like this LD A,(IX+LEMY). Using IX is pretty slow, but in these cases, there’s really no alternative. I’d have loved to find a faster way of doing it, but oh well. once I had this defined, I loaded the base address into IX, and looped around 100 Lemmings – that still being my goal. I then set a basic counter and dropped a lemming out somewhere on screen in “Faller” mode, then hoped.
This is where it started to get complicated. I’d originally planned to to store a bitfield collision mask of the whole level – a bitfield mask being 1 bit per pixel, so packing the whole mask down to around 40K, so that moving up/down was very fast. However, this would mean that not only would I need to remove data from the Level Bitmap, but I’d also need an old school sprite masking routine so that I could add/remove pixels from the bitmask screen as well. I toyed with several ideas about how to lay this out in memory, and what would be fastest/simplest, but in the end I decided to do what the Amiga did, and just use the background screen.
This actually works fairly well, although it does still have the bank swapping issue that the rendering has. But aside from that, it’s pretty good.
This has the added benefit that I just have to add or remove things from the level bitmap – which you have to do, and then your Lemmings will just automatically walk over it. This keeps things very simple, and stops anything getting out of sync.Once I had this working, I was able to churn out the 100 Lemmings and see how fast things were going….
This all worked pretty well, and while a little sluggish, I figured I’d get a lot back once I was able to use the copper to display the panel, and didn’t have to copy the whole thing each frame. During this time however, the Next team managed to get the speed back up to 14Mhz again (mostly), so this was a great free boost and the above video shows this 100 Lemmings running at 14Mhz.
The next biggest CPU hog – and the next coolest thing to do, would be to explode a Lemming. This introduces several important functions; panel selection, selecting a Lemming, removing the background, the explosion particle system.
First the panel selection was reasonably straight forward, especially as I opted to use a sprite for the selection box which simplified things a lot. While doing the basic clicking on the panel, I also decided to implement the release rate properly. I had up until now just had a simple frame counter, but actually Lemmings doesn’t do it this way. In fact, Lemmings release rate is very odd, a fudge that just gives you a nice curve. Basically, it takes the 0-99 number, inverts it (so its a 99-0 delay), divides by 2 – just because 0 to 99 was nicer than 0 to 49. Then comes the “magic”. it negates this value,adds 53, negates again and adds 57. Yeah… i don’t know why either. This has however stuck in my mind for years, as it’s basically sums up game coding in a nutshell; fudge it till it works. No matter what the code looks like or does, as long as it works the way you want, then go with it. You can see this function in my github repository in level.asm/ConvertToDelay.
Next, I had to be able to pick a Lemming. I started out by doing this simply, that being, just looping over all the Lemmings and finding the first one under the cursor. This however doesn’t work very well, you end up picking a Lemming who is mostly out from under the cursor, when in fact you really want the one that’s mostly central to it. This means I needed to measure the distance to the middle of the cursor and pick the Lemming closest to that. This take a bit more oomph, but works much better, and feels much more natural.
The next step was a big one, removing background pixels. This is one of the key elements of lemmings, so would be good to get this into place. This is basically an inverse sprite routine, removing pixels instead of drawing. Because this goes into the level bitmap (the 2048×160 bitmap) and not the screen (256×160 screen), I copied the bob draw code from the level creation code, and then whenever I was about to draw a pixel, I’d store a 0 (black) instead.
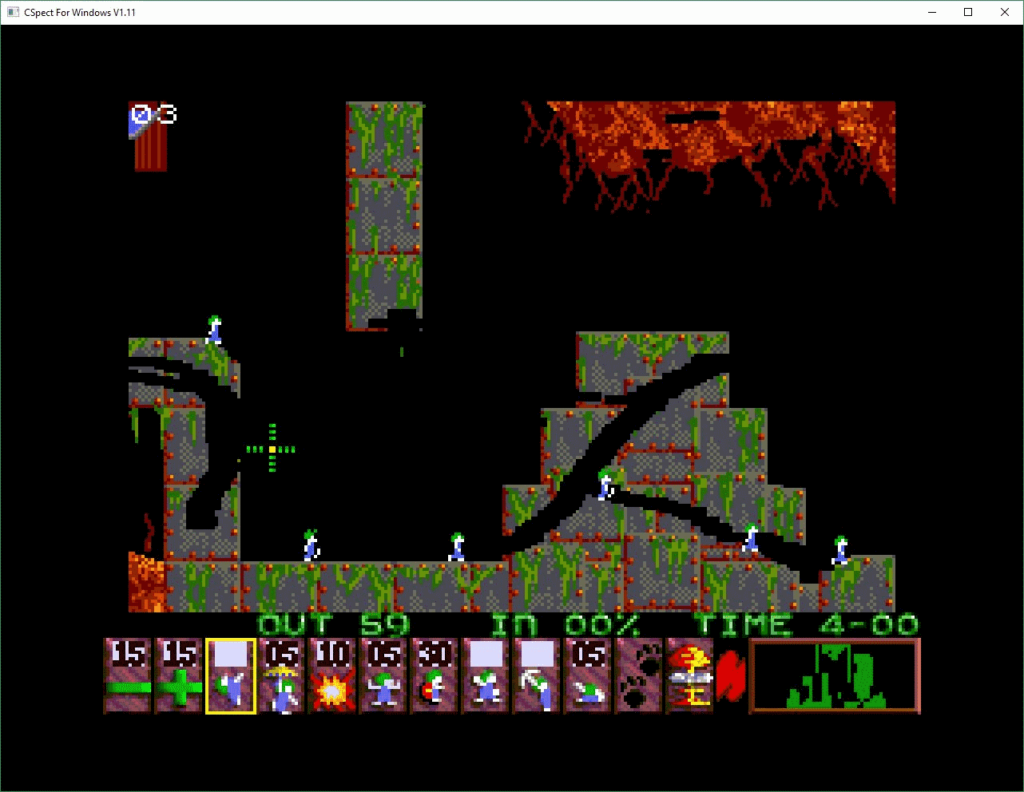
I then defined an egg shaped blob and attached it to the mouse, and hey-presto! We go this. The code was simpler as you only need to clip top and bottom, as the level has lots of space left/right, which is nice.You’ll also notice that the Lemmings are walking through the areas I’ve cut out due to the fact I use the level bitmap to collide with.
Interestingly, we changed this method in Lemmings 2 so we could have pretty backgrounds that you wouldn’t walk over or dig away, as simple Black backgrounds are pretty dull really….
In the next post, I’ll go through the explosion code and the nuke function…