I decided to get back to work and fix my sprite clipping for my object rendering. It turned out to be a simple fix and was just messing up when crossing a bank.
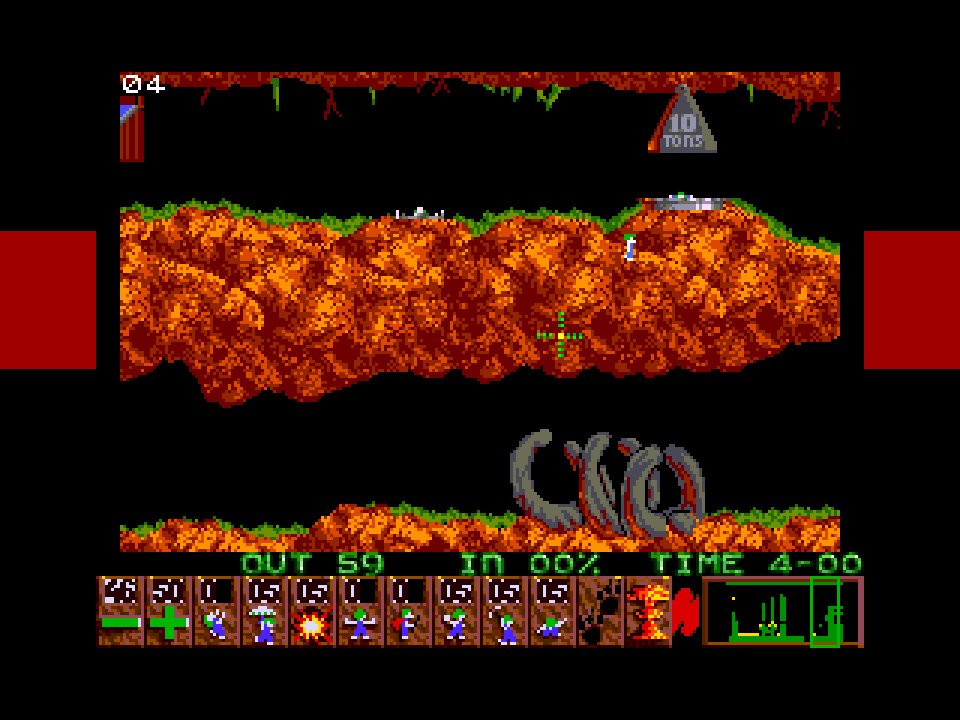
Once I got this done I went looking for more levels with lots of objects so I could test out the level rendering and get a good idea of overall performance. When I was doing levels, I used to love adding in lots of water for decoration – usually right across the level, so I went looking for one of them.
However, it looked like I wasn’t converting the levels properly, as there was no water to be seen – or at least very little. I tried several of my old levels, but they were all the same, loads of water removed. Had I missed something?

After much investigation, it turns out that Windows Lemmings doesn’t have all the water that the Amiga one did! What the hell!?!? I quizzed Russell Kay (who wrote it Windows Lemmings), and he told me they’d removed a lot of the decorative items for performance reasons. Damn…
This was a mixed blessing as sure it wouldn’t look 100% like the Amiga one, but at the same time, it meant I’d be able to keep performance up quite a bit. Oh well…. it wasn’t like I could do anything about it.
Speaking of performance…. I’d been using the new ZXNext instructions a lot in my rendering code, so I suddenly started to wonder how I’d fair if I used only the original Z80 instruction set. I was in for a shock that’s for sure, as the extra code required would push rendering times up massively.
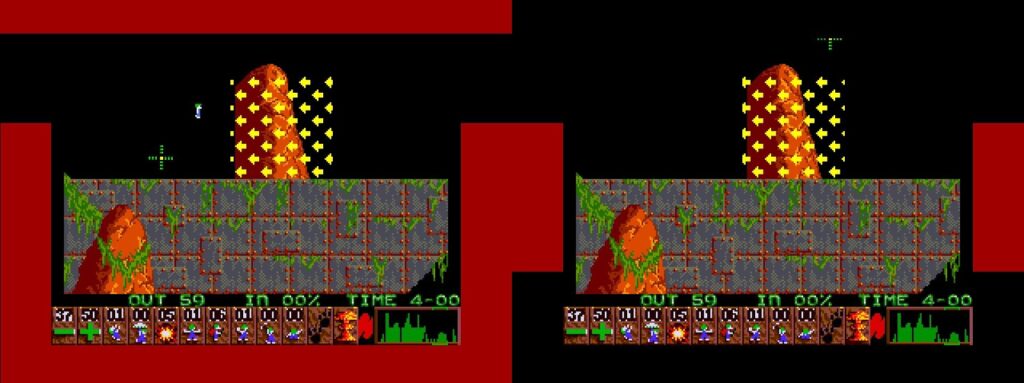
You can see from the image above the huge speed boost the new instructions – in particular LDIX, gives 256 colour (Layer 2) rendering code. The image on the left uses a very standard rendering loop, load a value from (HL) into A, test to see if it’s 0, branch if it is, other wise, store in (DE), then INC HL and INC DE. LDIX does this pretty much in one instruction but has the added advantage you can compare A to any value, not just 0.
There are several new instruction aimed at giving game devs more tools to speed up their code, some of them are real beauties.
Final new Z80 opcodes on the NEXT (V1.10.06 core)
======================================================================================
   swapnib           ED 23           8Ts   A bits 7-4 swap with A bits 3-0
   mul               ED 30           8Ts   multiply D*E = DE (no flags set)
   add  hl,a         ED 31           8Ts   Add A to HL (no flags set)
   add  de,a         ED 32           8Ts   Add A to DE (no flags set)
   add  bc,a         ED 33           8Ts   Add A to BC (no flags set)
   add  hl,$0000     ED 34 LO HI     16Ts  Add $0000 to HL (no flags set)
   add  de,$0000     ED 35 LO HI     16Ts  Add $0000 to DE (no flags set)
   add  bc,$0000     ED 36 LO HI     16Ts  Add $0000 to BC (no flags set)
   outinb            ED 90           16Ts  out (c),(hl), hl++
   ldix              ED A4           16Ts  As LDI,  but if byte==A does not copy
   ldirx             ED B4           21Ts  As LDIR, but if byte==A does not copy
   lddx              ED AC           16Ts  As LDD,  but if byte==A does not copy, and DE is incremented
   lddrx             ED BC           21Ts  As LDDR,  but if byte==A does not copy
   ldpirx            ED B7           16Ts  (de) = ( (hl&$fff8)+(E&7) ) when != A
   ldirscale         ED B6           21Ts  As LDIRX,  if(hl)!=A then (de)=(hl); HL_E'+=BC'; DE+=DE'; dec BC; Loop.
   mirror a          ED 24           8Ts   mirror the bits in A
   mirror de         ED 26           8Ts   mirror the bits in DE
   push $0000        ED 8A LO HI     19Ts  push 16bit immidiate value
   nextreg reg,val   ED 91 reg,val   16Ts  Set a NEXT register (like doing out($243b),reg then out($253b),val )
   nextreg reg,a     ED 92 reg       12Ts  Set a NEXT register using A (like doing out($243b),reg then out($253b),A )
   pixeldn           ED 93           8Ts   Move down a line on the ULA screen
   pixelad           ED 94           8Ts   using D,E (as Y,X) calculate the ULA screen address and store in HL
   setae             ED 95           8Ts   Using the lower 3 bits of E (X coordinate), set the correct bit value in A
   test $00          ED 27           11Ts  And A with $XX and set all flags. A is not affected.
New instructions like MUL, MIRROR, PIXELAD,PIXELDN are ones lots of game devs would have killed for back in the day. With the spectrum screen being so tricky, the new instructions like pixelad and pixeldn are a god send for developers, taking away one of the major pains and slow downs they had in rendering.
So after getting a warm fuzzy feeling at my rendering speed, I decided to try and get the SID chip working. This was before we lost it obviously. I decided to use the reSID library and loaded the DLL on startup. But I just could not get it working….
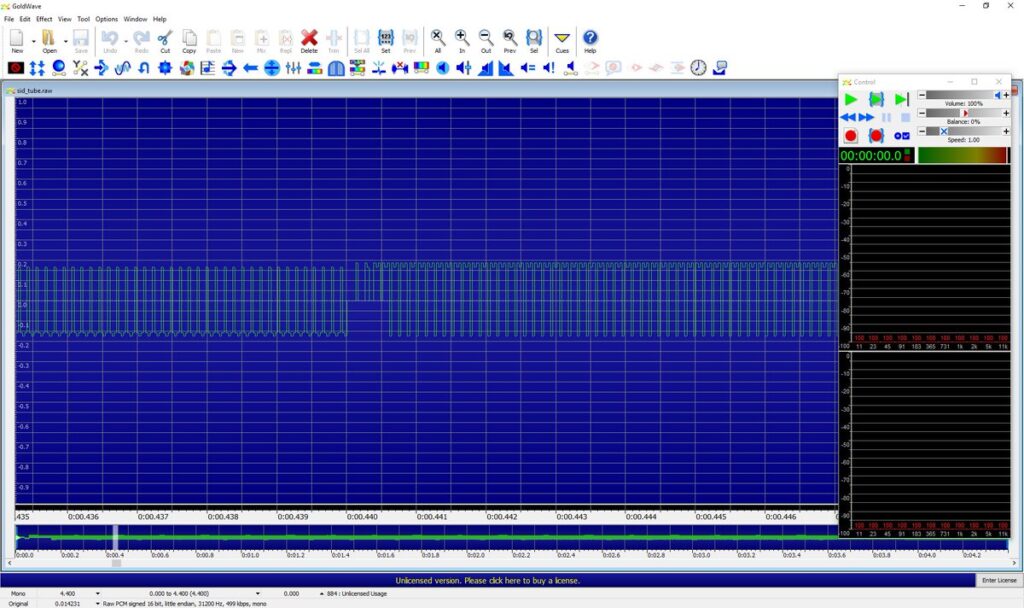
This is an image of a single channel playing a pulse wave – so it should be a simple square layout, but as you can seem, the waves are not only very thin, but have odd little bumps on the top, and that odd block missing. I fought with this for a while, quickly getting nowhere, so eventually gave up and decided to stick with my own SID code from my C64 emulator. It’s not great, but does sound okay, and does work – which is always a plus.
All this was working towards a new major CSpect release, to try and get as close to the actual machine as I could. This would also include the new 3xAY chip, and DMA.
DMA (Direct Memory Access controller) was something I was really wanting, as it would speed up my Lemmings rendering code hugely. When I copy the screen each game cycle, it can take 2-3 frames just for that copy as it needs to copy 38K each game tick, which for a spectrum, is a hell of a lot. DMA runs at the same speed as the CPU clock, and at 4T-States per byte copied, is a massive boost in performance. But first, I needed to get it into CSpect, and that meant understanding how it worked – beyond what most coders would care about.
I spent a while hunting for more info on the DMA chip, and finally found the datasheet for it, which you can find on an earlier blog post ( DMA Datasheet ). It’s a little confusing, but with the help of Victor I stumbled through creating the state machine inside CSpect. The DMA is basically a set of registers that you set by doing a stack of OUTs, with the first byte of the instruction telling the DMA controller what registers follow. Once I had this in place, Victor gave my little DMA sample code a once over, testing it on the real hardware, and I was then able to also get something running locally.
DMA has a few modes, it can either increment, decrement or not move the source or destination, and it can go to RAM or a PORT. So I started off by trying to DMA a stack of data to the border and see what happens…

After a bit of fiddling around, I finally got the DMA working. I had to rearrange my CSpect processing loop as the DMA locks out the CPU, but I still needed the screen to render each scanline based on the number of T-States the DMA was taking from the machine overall. It’s certainly not perfect, but it doesn’t have to be. CSpect is all about making it easy to code for the Next, not about making it pixel perfect.
Next I wanted to do a memory to memory copy, so I grabbed a screen show and DMA‘d it up and got the image below- this was at 28Mhz…
It’s a shame we’ve lost the 28Mhz, as it’s ballistically quick. Here you can see I can copy a normal spectrum screen in about 16 scan lines – although this is probably without the old memory contention in there, but no matter what, it’s still incredibly quick. That’s not to say 14Mhz isn’t quick as well mind, and the speed up it gives me for my Lemmings screen copy code is well worth the effort. Here’s the little DMA program that copies the screen above (which is included in the CSpect archive)…
DMA db $C3   ;R6-RESET DMA
 db $C7   ;R6-RESET PORT A Timing
        db $CB   ;R6-SET PORT B Timing same as PORT A

        db $7D    ;R0-Transfer mode, A -> B
        dw ScreenDump  ;R0-Port A, Start address    (source address)
        dw 6912   ;R0-Block length     (length in bytes)

        db $54    ;R1-Port A address incrementing, variable timing
        db 2   ;R1-Cycle length port A

        db $50   ;R2-Port B address fixed, variable timing
        db $02    ;R2-Cycle length port B

        db $C0   ;R3-DMA Enabled, Interrupt disabled

 db $AD    ;R4-Continuous mode  (use this for block tansfer)
        dw $4000  ;R4-Dest address     (destination address)

 db $82   ;R5-Restart on end of block, RDY active LOW

 db $CF   ;R6-Load
 db $B3   ;R6-Force Ready
 db $87   ;R6-Enable DMA
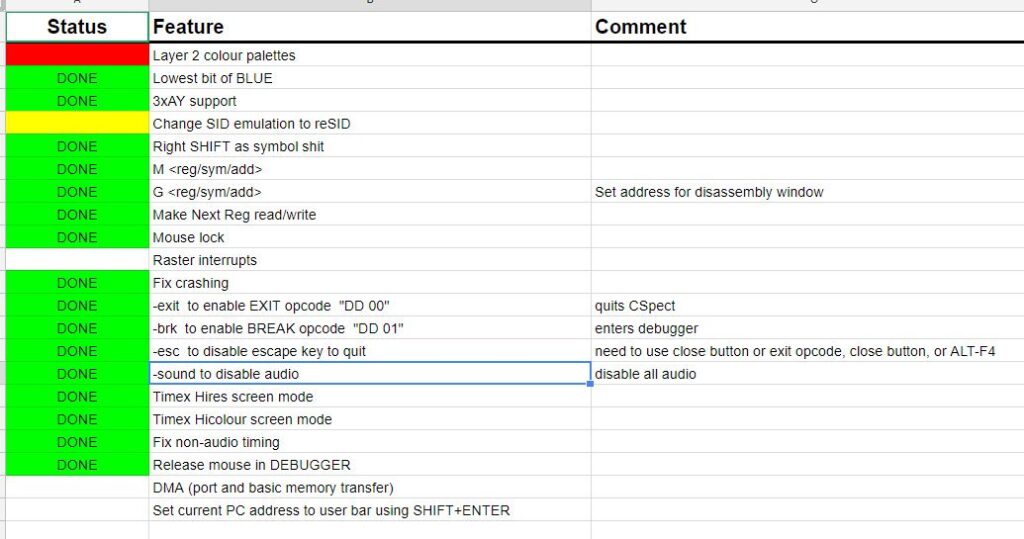
With the DMA now running in CSpect, I thought I’d give some of the old DMA demos a go, see how compatible I am.
It was pretty cool seeing these demos “just work”, and showed my DMA code was working well.
I was about to take a break as I headed out to Orlando with the family, but that didn’t stop me having a little fun on the plane as we headed out…
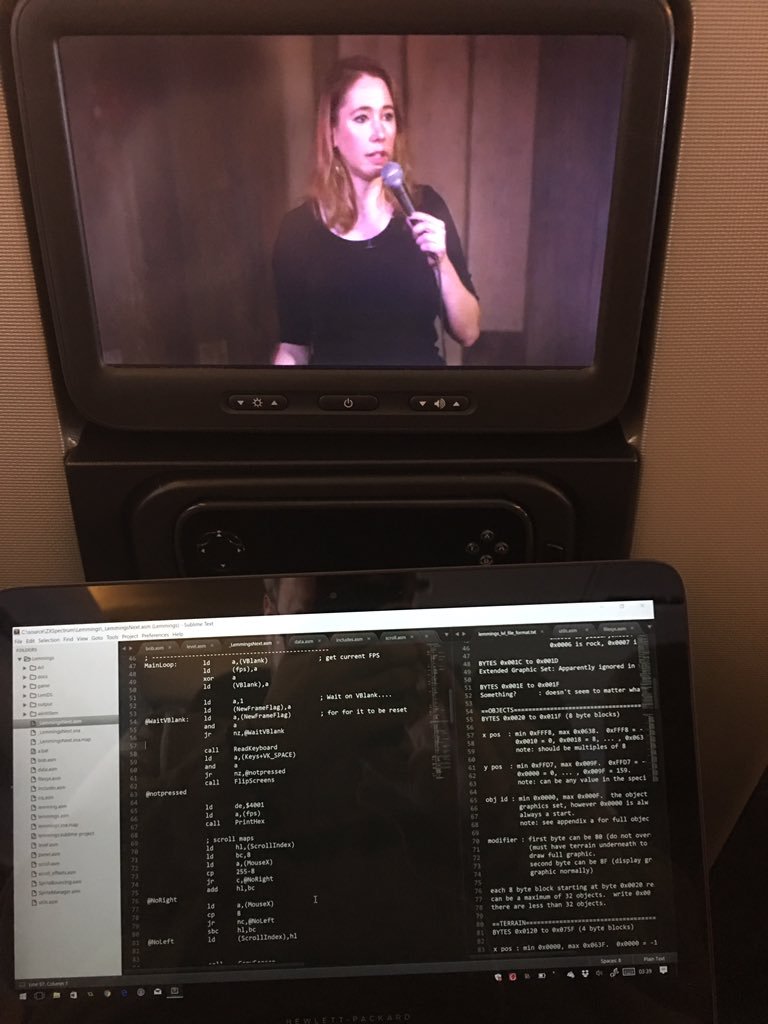
It would be a few months before I pick up any of this again as work got busy, and deadlines loomed…