In this final post we’re going to extract the last few bits for this demo, that of the graphics of Miner WIlly, his starting location, and the portal location. This will finish off this little expedition into hacking apart Manic Miner, and show you just how much fun it is pulling apart old games, and possibly remaking them using the original data!
So, first we’ll get Willy’s starting position and then his bitmap graphics. For this, we’ll need another object oPlayer, and then assign it the white square we have. Miner Willy’s start information is at 616 to 622, with his location being held in bytes 620 and 621, and his starting direction held in 618. Add this at the end of the LoadGame() function
// Miner Willy's start position
var add = base_address+620;
var tmp = buffer_peek(game,add,buffer_u8)|(buffer_peek(game,add+1,buffer_u8)<<8);
level.WillyX =  (tmp&31)*8;
level.WillyY =  ((tmp>>5)&$f)*8;
level.dir = buffer_peek(game,add-2,buffer_u8);
In the ChangeLevel() script, add this…
with(oPlayer) instance_destroy(id);
var willy = instance_create_depth(level.WillyX,level.WillyY,-50, oPlayer);
willy.frame=0;
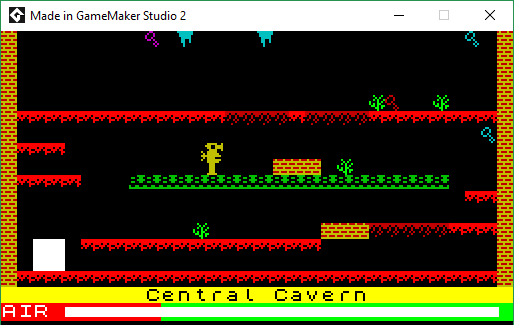
willy.dir=level.dir;If you run this, you’ll see a blob where ever Miner WIlly is supposed to start.
Now all we need is to extract the graphics, so add this to the LevelGame() script. Miner willy is held elsewhere in the code – not the level blocks, so we use a new offset.
// Extract Miner WIlly
Willy = [];
var willy_offset = (33280-16384+ SNA_HeaderSize);
for(var w=0;w<(8*16);w++){
    a = buffer_peek(game,willy_offset,buffer_u16);
    Willy[w] = ((a>>8)&$ff)|((a&$ff)<<8);
    willy_offset+=2;
}
global.willy_graphic = -1;
After this we need to generate the graphics, Willy has 4 frames and 2 directions, so 8 frames in total, and is 16×16 pixels in size. We plot each 16×16 frame on top of the last, so we have a vertical strip. This block goes into the CreateGraphic() script…
// Init willy!
if(!surface_exists(global.willy_graphic))
{
    global.willy_graphic = surface_create(16,16*8);
    surface_set_target(global.willy_graphic);
    draw_clear_alpha(0,0);

    // 8 sprites to convert
    for(var spr=0;spr<8;spr++)
    {
        for(var yy=0;yy<16;yy++)
        {
            var row = Willy[yy+(16*spr)];
            for(var xi=0;xi<=16;xi++)
            {
                if( ( (row>>xi)&1)!=0 ){
                    draw_point_color(15-xi,yy+(16*spr),$ffffff);
                }
            }
        }
    }
    surface_reset_target();
}
Lastly we need to add a draw event into the oPlayer object so we can draw Willy – like this…
/// @description Draw willy
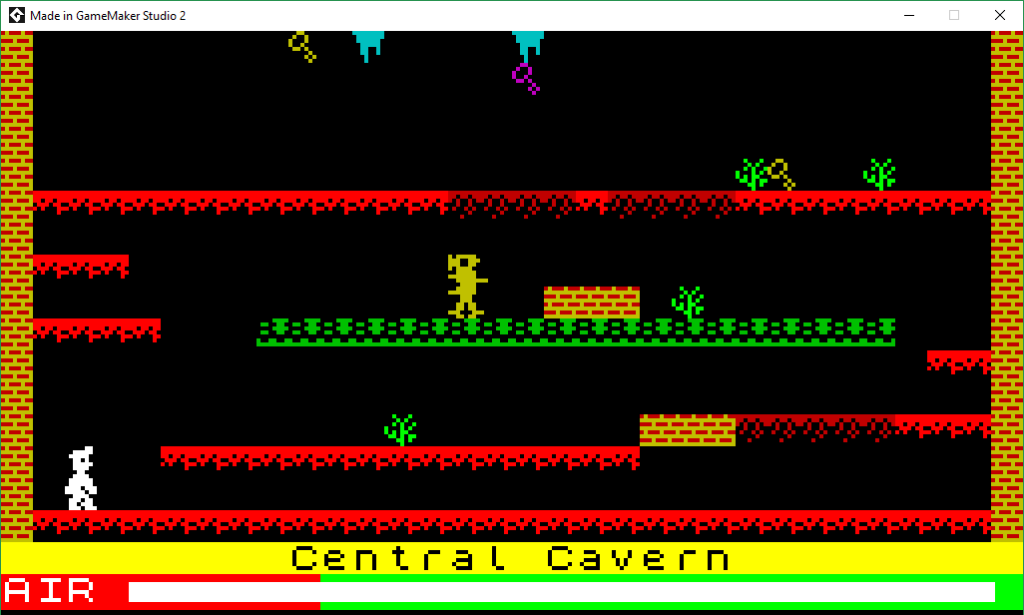
draw_surface_part(global.willy_graphic, 0,(dir*(4*16))+(frame*16),16,16,x,y);All going well… you should see something like this…
So, last but not least…. the exit – or Portal as it’s called in the docs. We’ll read the location and graphic first, this again goes at the bottom of the LoadGame() script.
// portal
var a = buffer_peek(game,base_address+688,buffer_u16);
level.portalx = (a&31)*8;
level.portaly = ((a>>5)&$f)*8;
level.portal_attrib = buffer_peek(game,base_address+655,buffer_u8);
// PortaL graphic
var Portal = [];
var add = base_address+656;
for(var w=0;w<(8*16);w++){
    a = buffer_peek(game,add,buffer_u16);
    Portal[w] = ((a>>8)&$ff)|((a&$ff)<<8);
    add+=2;
}
level.Portal_Graphic = Portal;
global.Portal_Graphic = -1;
This reads the x,y of he portal (in 8×8 locations), and the portal attribute (it’s paper and ink colour). This colour will never have bright set as that’s how the game shows all items have been collected and it’s now time to exit. The graphics is a simple 16×16 – one for each level, so we’ll store the array in the Level storage. Next, we’ll need to make another strip holding all the exit graphics. We do this in the CreateGraphic() function
// Portal graphics
if(!surface_exists(global.Portal_Graphic))
{
    global.Portal_Graphic = surface_create(16,16*20);
    surface_set_target(global.Portal_Graphic);
    draw_clear_alpha(0,0);

    for(var lev=0;lev<20;lev++)
    {
        draw_set_alpha(1);
        att = levels[lev].portal_attrib;
        var paper = GetColour((att>>3)&$7);
        var ink   = GetColour(att&$7);

        var block = levels[lev].Portal_Graphic;
        for(var yy=0;yy<16;yy++)
        {
            var row = block[yy];
            for(var xi=15;xi>=0;xi--)
            {
                if( ( (row>>xi)&1)!=0 ){
                    draw_point_color(xi,yy+(lev*16),ink);
                }else{
                    draw_point_color(xi,yy+(lev*16),paper);
                }
            }
        }
    }
    surface_reset_target();
}
So again, we have 20 levels, 16 lines per sprite, and 16 pixels per line. The colours are specific this time, so we bake them into the shape. We’ll need one final object, oExit, and we’ll create this by changing the ChangeLevel()
with(oExit) instance_destroy(id);
var iExit = instance_create_depth(level.portalx,level.portaly,-100,oExit);
Lastly, we need to add this to a new DRAW event in oExit.
/// @description Draw the exit
draw_surface_part(global.Portal_Graphic, 0,oController.CurrentLevel*16, 16,16, x, y)
So there you go! All done! While there is still plenty to do, especially with all the special cases you’d have to handle, we certainly have a chunk of the game working.
I actually did a stream of this whole process, so if you want to watch me stumble around as I try to figure it all out, you can find it on my YouTube channel (or watch below). While blogs like this may seem to make it a simple and straight forward process, it does usually take time to do, so it’s always nice seeing someone stumble along like everyone else!
Also, if you fancy giving something like this a go yourself, then there’s a wonderful site (see below) that has several retro game formats on it – happy hacking!