
Now that I knew things were actually possible, it was time to start thinking about the levels themselves. I started reading up on the level format, a text file by someone called “rt”… (Thank you whoever that is!!)
=-=-=-=-=-=-=-=-=-=-=-=-=-=-=-=-=-=-=-=-=-=-=-=-
          LEMMINGS .LVL FILE FORMAT
                    BY rt
=-=-=-=-=-=-=-=-=-=-=-=-=-=-=-=-=-=-=-=-=-=-=-=-

document revision 0.0

thanks to TalveSturges for the original alt.lemmings posting which got me
started on decoding the .lvl format

if you liked lemmings you should give CLONES a try. go to www.tomkorp.com
for more information.

this document will explain how to interpret the lemmings .lvl level
file for the windows version of lemmings (directly saved levels in LemEdit).
This document is also on my Github repository.
As it happens, I was flying off to LA for a holiday with my daughter, so an 11 hour flight was just the thing I needed to blitz this chunk of code…
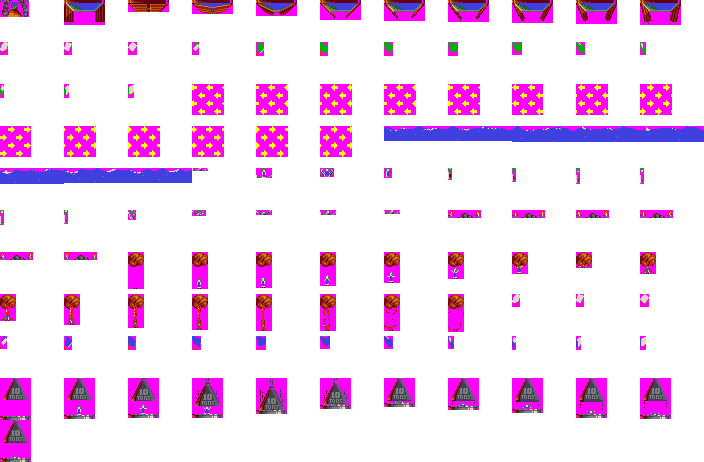
I first converted and exported the level brush .SPR files into a large set of sprite banks, with a table at the start that held start addresses, banks, widths and heights, followed by bitmap data. Once I had this, I was able to start writing a “level bob” routine, something that would draw these into my 1600x160 level bitmap (which is the size of a level in Lemmings – 5x320x160 screens).
This immediately turned nasty, as working out the “Y” coordinate was horrible – this was before the MUL instruction appeared. I created a large “line” table that held the address of each line and the bank it started in, and started to use that to index down into the level.
This was “okay”, but it was ugly… and the table wasn’t exactly small either. It also had a problem that a single line could cross a bank, which wouldn’t do at all. I could get round this by not filling the last 384 bytes of each 16K bank, but still….
So, I decided to scrap all this, and burn some of this lovely new memory the NEXT had. I change the background level bitmap into a 2048×160 screen, burning an extra 70K+ of RAM. However… this now meant that the line addresses was just the Y coordinate shifted a couple of times and stuck in H (of HL), and the base of the bank ($C000) added on. It also meant that by banking in 16K at a time, if bit 6 of H reset to 0, I needed to swap bank. This was much nicer…
Doing the basic draw routine was fairly simple, I just had to clip top and bottom. I decided (one again) to cheat like mad and not actually clip things. As this was just being used at level creation time, I simply looked at the Y coordinate, and if it was off screen i didn’t draw it, and moved onto the next one. Ideally you’d work out how much you need to clip and only draw that, but for this case, performance wasn’t the number one goal, so i though “Sod it”.
I also realised with my longer level, I didn’t actually have to clip on X either, i could just start drawing 16 pixels further on. That was fortunate. .
With a simple draw blob in place, I looped through all the brushes to draw, and built the screen.
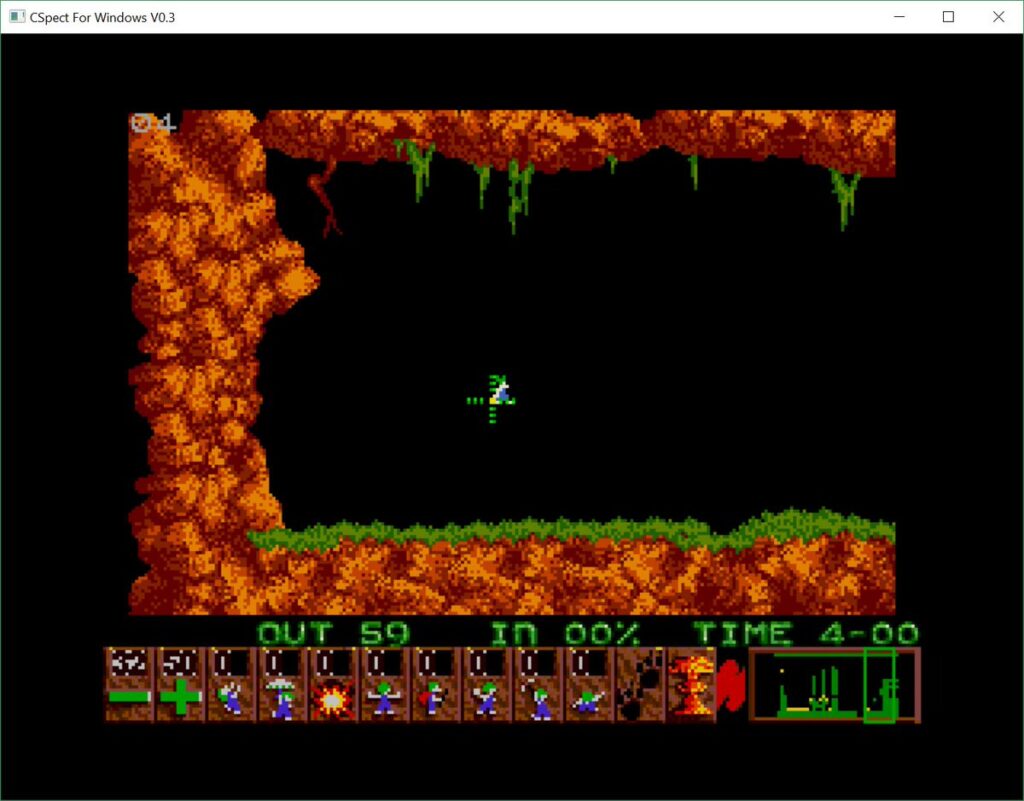
For a first version, this was pretty good I though. You can see what it’s supposed to be, and looked pretty close to the actual level. It wasn’t perfect though. Lemmings background brushes can have a few special draw modes: Flip on Y, Behind and Remove. Each of these modes can be combined giving 8 different draw modes in total.
While on the Las Vegas leg of our trip I finished off the level loading and added the missing modes…


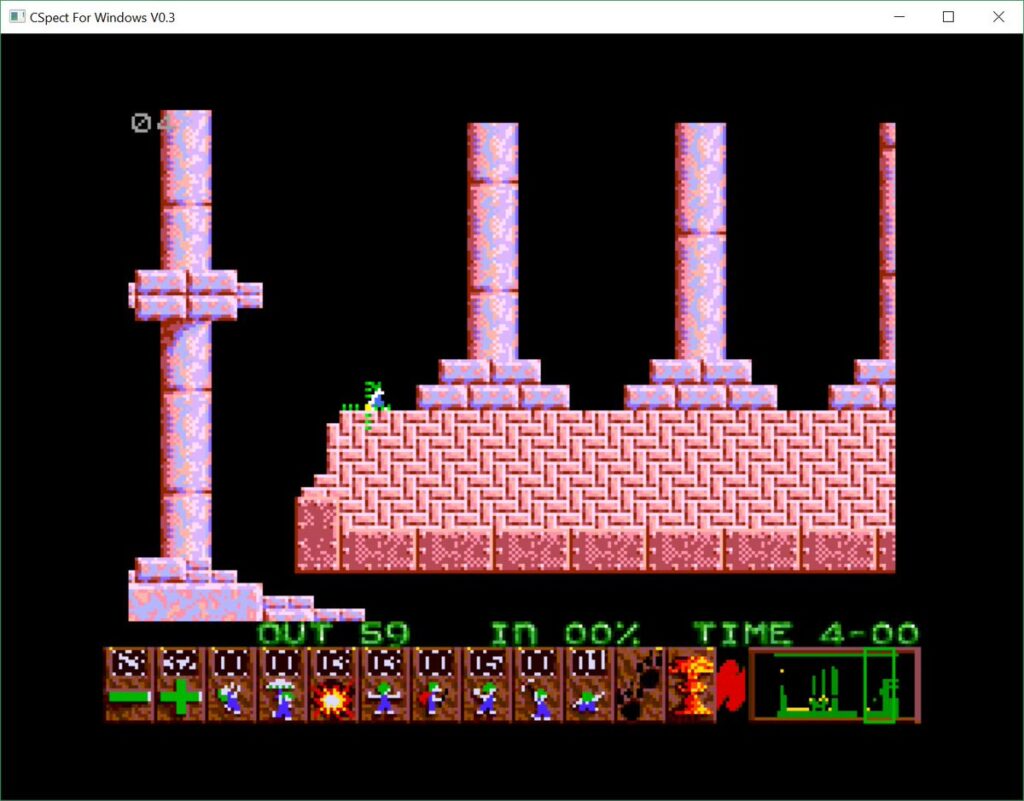
It took me a while to figure out what was wrong with the image that has the corruption, especially as it was the correct shape – very odd. But turns out the brush I was drawing from was overflowing the bank it was in, so I’d need to do a check on exporting to make sure each line of the sprite is inside the same bank. I can’t make the whole sprite fit, as the brushes can get really quite large and won’t fit. I’ve yet to fix this bug… but I’ll get around to it one day.
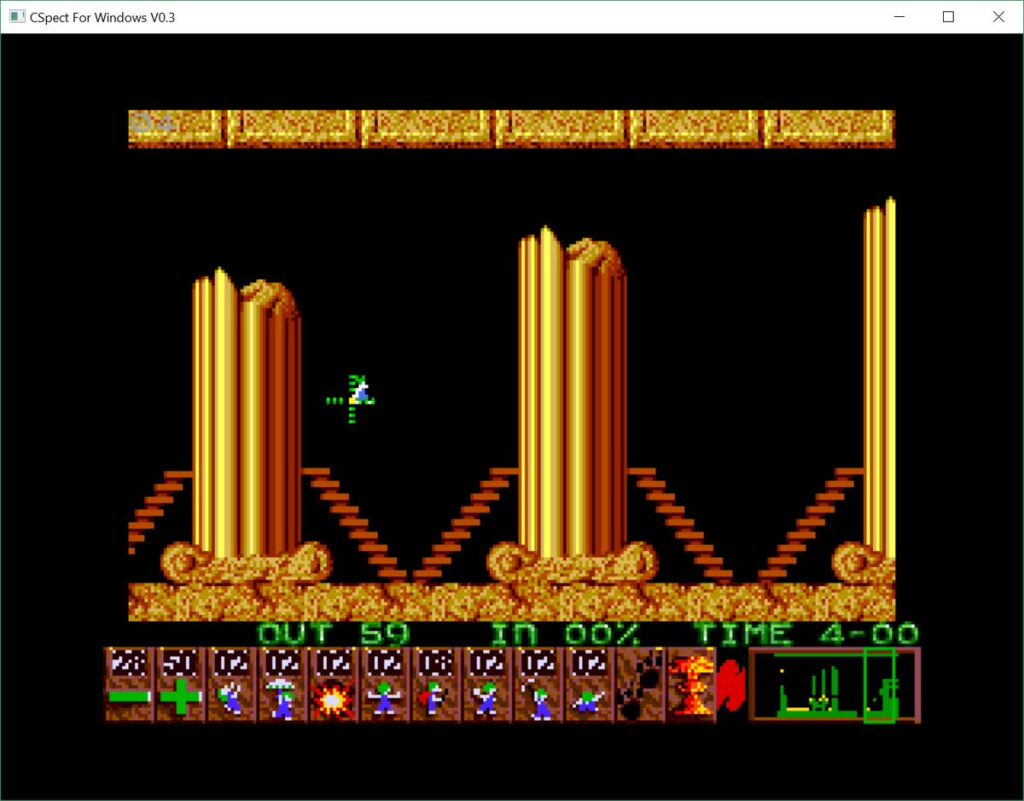
As you can see, I’d gotten most levels now loading fine. After this, I set about actually finishing off the export of all the lemmings as code that I could call, and actually use
This took a little longer than I expected. I had to make sure the generated code wasn’t going to cross a bank, and make the offset table that went before it all. But once I finally got it all together, I was able to flick through the different graphics inside the game (above).
It was getting to the point i wanted to have the objects in the level. This was really the last major item missing, not just in terms of level components, but that would show me how fast things would run. Lots of the levels have a load of objects, and they would take up a lot of rendering time, so I really needed to see if it would still be fast enough once I added them.
I managed to get the sprites exported okay, but the colours just weren’t right. I ended up having to load new palette files, one for each style and convert them into the NEXT RRRGGGBB format. once I had that, exporting the objects was just the same as the level brushes.
Once I’d exported this, i suddenly remembered those arrows…. damn it. They appear “inside” the background, so this meant I wouldn’t be able to use the LDIX instruction, but have to do it long hand. Worse yet, there was always lots of these on a level, meaning I’d have to draw loads of these objects using very slow code…. Bugger. Well, that was one I would look to address later.
With objects I needed “standard” sprite rendering code as the objects must be clipped right/left and top/bottom, and they have similar drawing modes to the background – normal, behind and inside.
In this case, I opted for a tower of LDIX instructions, and then jumped into the middle of them depending on how many pixels on X I was drawing. I then looped around this on Y, checking for bank swapping as I went. This give me this image below….
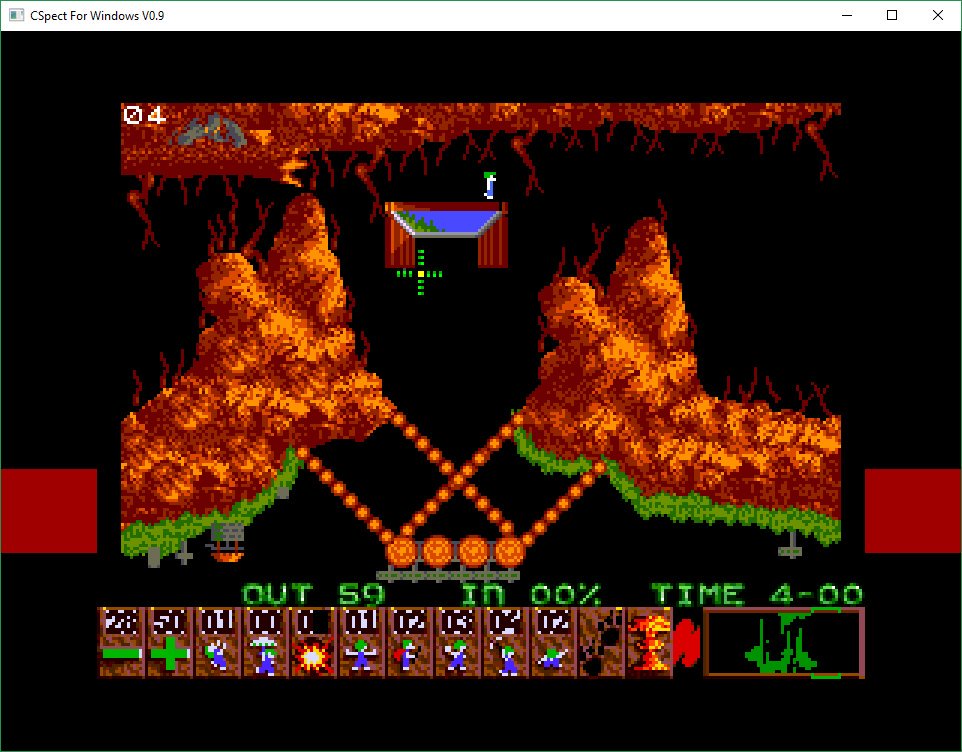
After how fast I got the Lemming rendering, I was a little disappointed at the speed of this, especially as I know there are levels with water all over the place. damn. It wasn’t the end of the world, but it may well be the beginning of the end…. Each sprite in this case takes about it’s own height to render, and if I have several on screen at once, that’s easily going to chew up a frame or so.
Still, I knew I still had some tricks up my sleeves so I cracked on. To give me a little break and some thinking time, I decided to start drawing the Lemming font. Time away from actual code is important, as it gives your mind time to chew over some problems. Most coders I know will come up with solutions to things at the funniest times; In the shower, having a poo, out for a walk – all of them away from the computer.
I used the image editor in GameMaker Studio 2, as it’s a great pixel editor, and very like D-Paint ( can’t for the life of me think why! ).
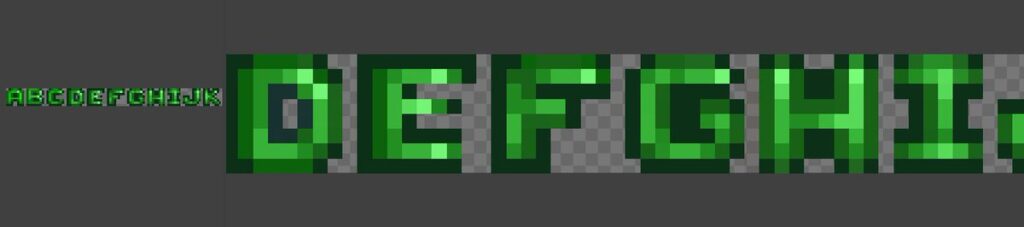
The Amiga font was 16×8, but due to the smaller screen, I decided to reduce it down to just 8×8. This works pretty well, and as you can see I’ve “mostly” managed to keep the feel of the original.

I’ve still to do the numbers, but this gave me a welcome break and let me know i was on a good track for my screen layouts.