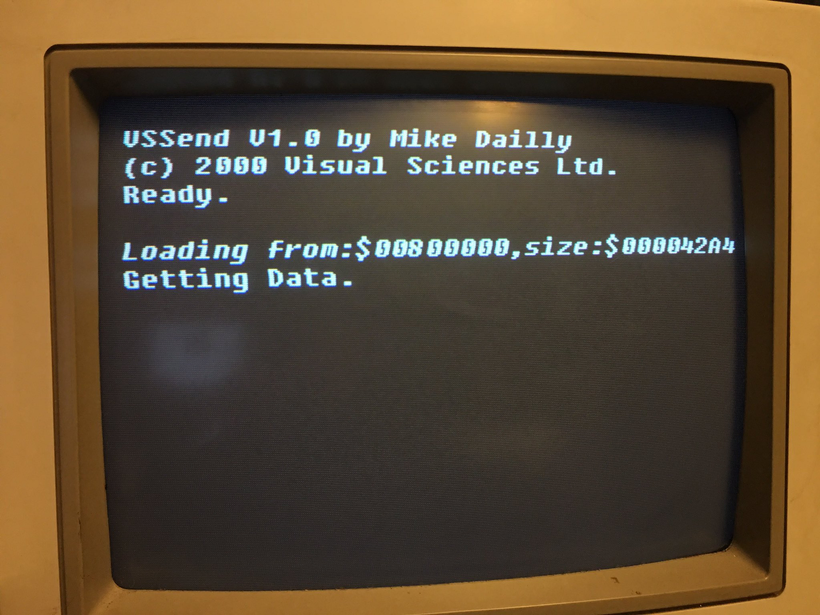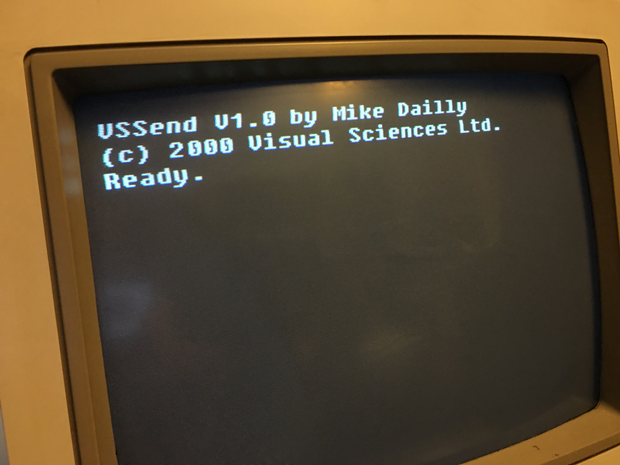
When going through my archives, I discovered I’d written a simple serial send program – VSSend and stuck it on a PSX boot disk, way back in 2000 while I was at Visual Sciences, some 22 years ago! Now, normally this would have been the end of it, a smile and “cool“, and then nothing I could actually do so and move on. However, also in my archive was the source for this program AND the PC C source for sending.
This set me thinking…. we don’t have serial ports anymore, but could you connect the PSX serial port to say…. a USB adapter? I’ve seen serial to RS232 connectors before – but this isn’t an RS232, as they are usually 5 volts and the PSX is 3.3 volts.. So I searched around a bit and found what looked like it should work, a little serial to USB that had simple pins to connect up to, and should handle the voltage stuff too.
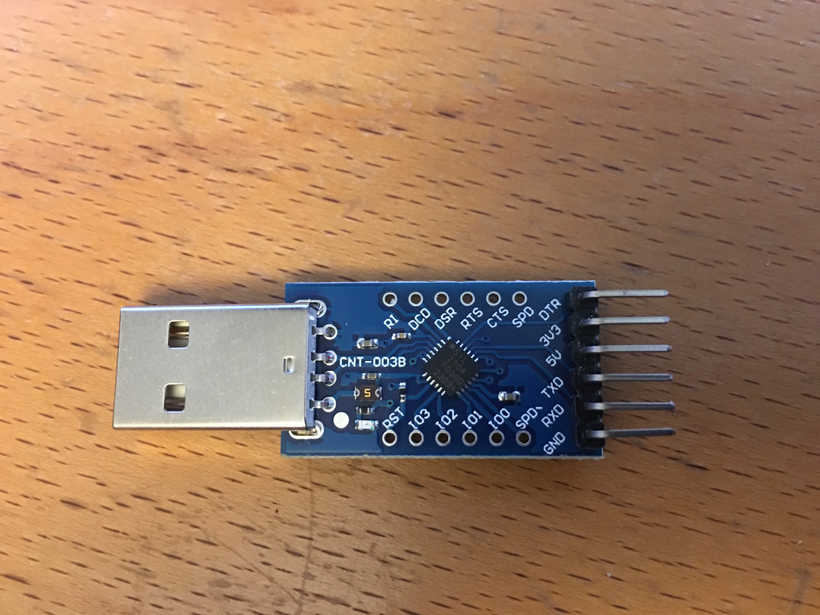
So I ordered a couple of these WINGONEER® CP2104 Serial Converter devices (they’re cheap, and I may well blow one up trying this…) and then started looking for PSX serial cables, or PSX Link cable as they’re called. These all eventually arrived and so the work started….
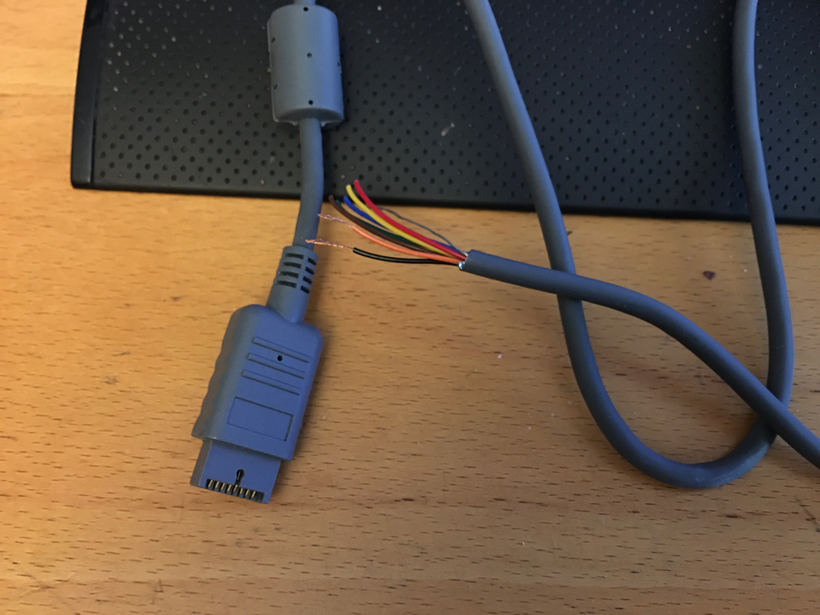
I chopped the link cable in 2 – giving me 2 chances if nothing else, and started looking to add the ends I’d need to connect up to the USB device, only to discover, I didn’t have the right crimpers. Doh. Quick order on Amazon (Glarks 486Pcs Wire Crimper Plier with Connector Set) , and the next day I was able to give it a go, after that is… watching a couple of tutorials on how to crimp and add the connectors.
This still didn’t go as planned, as I found crimping these things pretty tricky, and occasionally totally squished the lead, meaning I had to chop it, and start again.
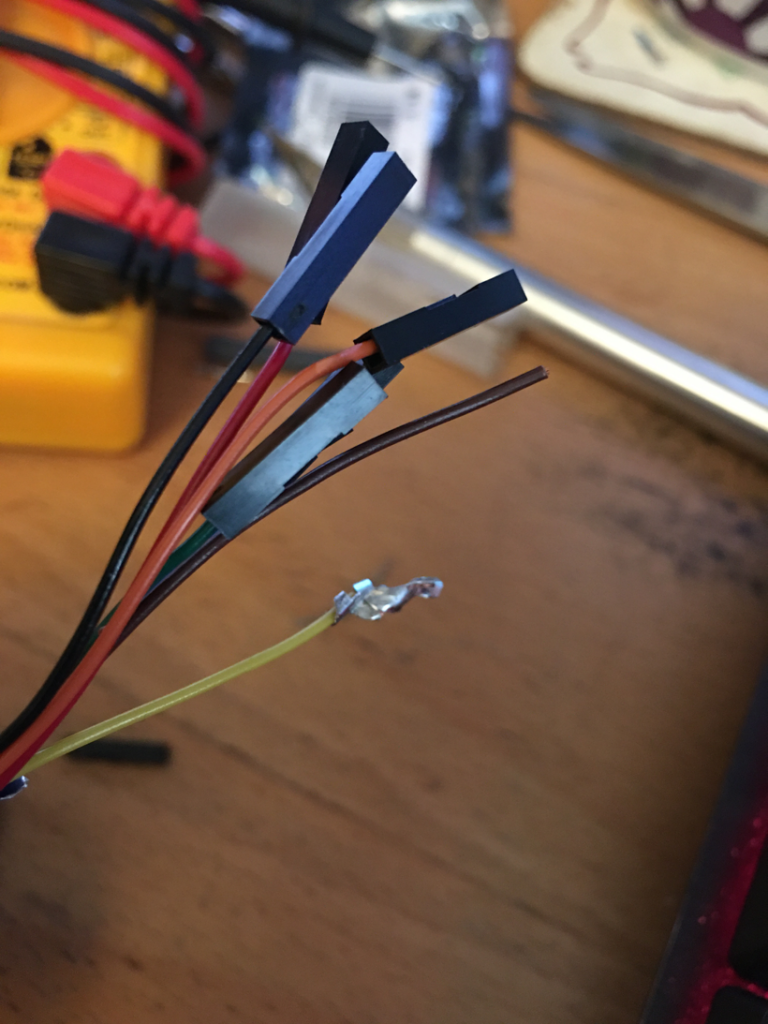
I did eventually get better and was able to produce a a cable with some nice ends I could plug stuff into.
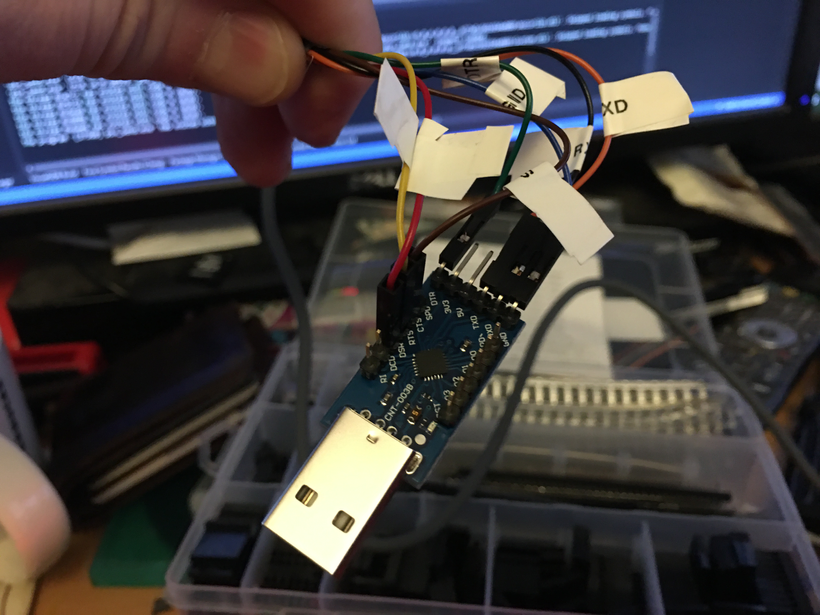
Next I plugged these into a simple row of pins, and set about trying to trace what connected to what. The diagram below shows the pinouts, so I simply had to flip this when looking at the cable itself, and then order them accordingly. Also worth noting the 3.3v isn’t connected, so everything else is useful. I stick the multimeter at one end, then pinged each wire in turn, shuffling them around and labelling as I went.

Once I was done, I plugged this into my USB device, installed the drivers and plugged it all in…
No smoke…. that was good.
Next, I had to translate the C code, into C# code. I’d already done some USB C# code in #CSpect, where you can use a “physical device” to connect to a real Wifi unit, allowing you perfect coding of the wireless network interface.
So copying this class over – and stripping it out a bit, I then started did the basic serial port open, which worked fine. So far so good.
C#’s read/write on a serial port is very simple, so the first thing to try was the WaitReady(). This is where I send “VS” and wait for an “OK” back. If I can get this working, then it’s game on. This is a simple function where I keep sending a “V” until I get an “O”, then send a “S” and hope to get a “K” back, and if not, then back to sending a “V”. Here’s the C# port…
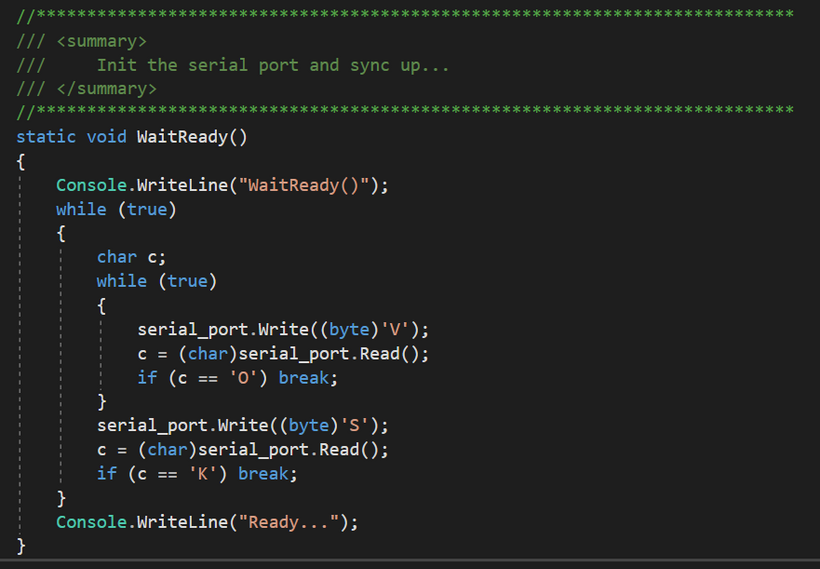
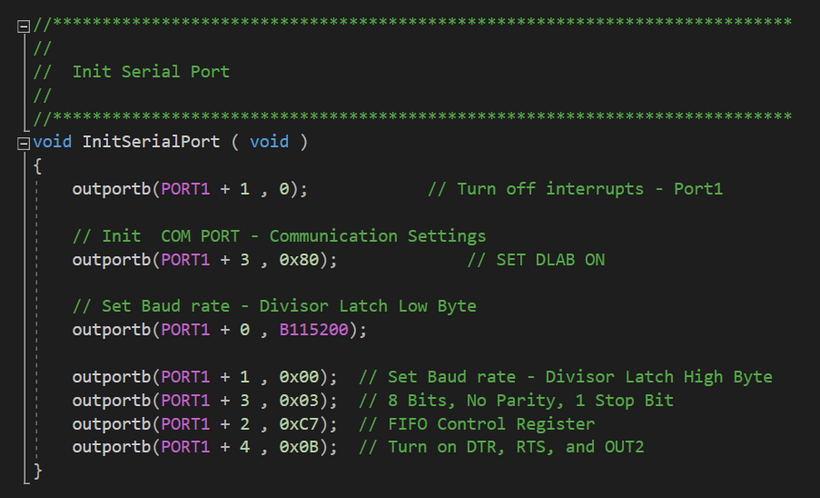
So I wrote this and……… nothing. Damn. I went back to C program to see if I’d missed anything and took a look at the serial port setup, and sure enough this sets on DTR and RTS pins.
So I switched this on and started stepping through the code and WOW! I sent a “V” and look at that! I got an “O” back!!
IT WORKS!!! I DID A THING!!!
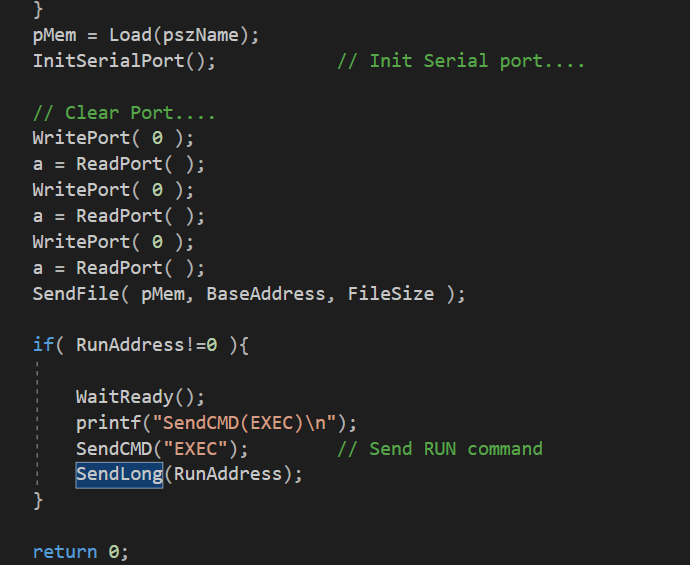
I quickly added the rest of the code, sending a “LOAD” string, followed by a uint32 for the address and another for the length, then did another WaitReady() and I was ready to send the file!
This was a simple loop sending bytes and adding a checksum, which is just adding all the bytes into another uint32, and then sending that. After that… you can execute by sending an “EXEC” string and a uint32 start address.